Quickstart
Learn how to configure your broadcast-grade web intercom system.
Creating an intercom is very easy. With Web Comms we don’t limit the number of resources you can create in an intercom which means you can design your intercom exactly how you require without having an active license.
Get Started
Ensure you’re logged into your account and navigate to your intercoms page
In the sidebar on the left, click to open the intercom creation dialog.General Settings
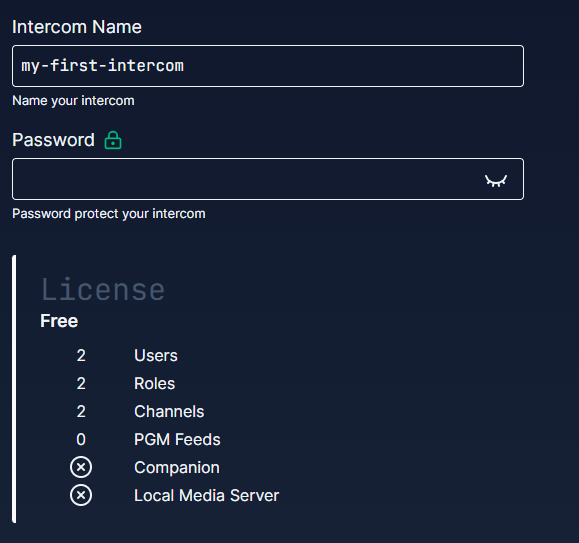
Intercom Name
Here you can type an intercom name of your choice. Names cannot include any spaces, capital letters or punctuation outside of hyphens (-). The intercom name must also be unique to your workspace. You cannot have two intercoms with the same name. For now we’ll skip the password option and on the left click the ‘Matrix’ tab.
Matrix
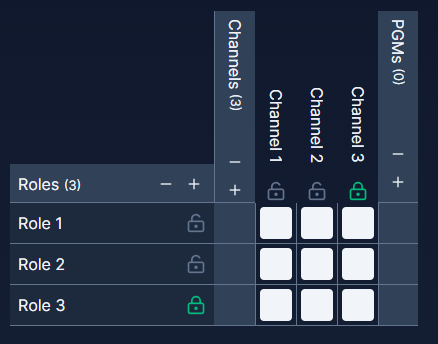
The matrix is where you can easily configure the number of roles, channels and their respective permissions in the intercom system. An unlocked padlock next to any resource indicates that it will be available to you in the live intercom on your current license, while a green padlock indicates that the resource is unavailable on your current license but will become available upon upgrading the license. Clicking on the role or channel name allows you to alter the name of that resource.
Configuring the Matrix
The grid in the center of the matrix details how roles interact with channels and assigns permissions to them. Clicking on the white crosspoint square will cycle through the permissions available which are as follows:
Right clicking a crosspoint will also tell you the exact role and channel pairing you’re changing. Permissions can also be changed by tabbing through the crosspoints and using the hotkeys for configuration: n = none/disabled, l = listen only, t = talk only and d = duplex. Hitting the spacebar cycles through the permissions.
Once you’re happy clicking the ‘Create’ button will create the intercom and close the creation dialog. You should then see a new intercom created in the intercoms page:
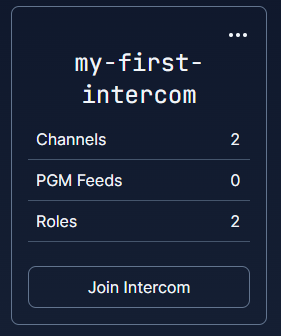
You can then join your newly created intercom by clicking ‘Join Intercom’