Creating the Intercom
Understanding the Matrix
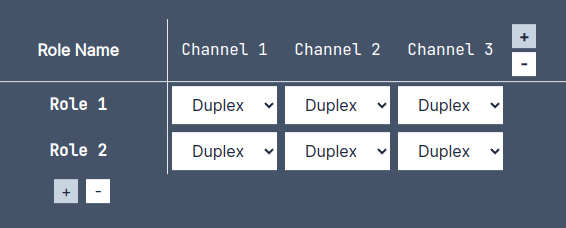
The matrix is defined as a table like the one below:

In this example, along the top we have the channels that are available to the system. If you have an active subscription, you will be able to add more channels by clicking the + button on the right of the last channel.
In the left column of the table, we have the roles that are available to the system. If you have an active subscription, you will be able to add more roles by clicking the + button on the bottom of the last role.
Using this table, we can click at the intersections of the roles and channels to create a matrix that defines the permissions of the system.
Example
Duplex Channels
Let's take a section of the default system to use as an example. We want to give the role Role 1 access to the channel Channel 1. We can do this by selecting one of the options in the dropdown menu at the intersection of Role 1 and Channel 1. By default, the option Duplex is selected. this means that Role 1 by default, can talk and listen to Channel 1.

Listen Only Channels
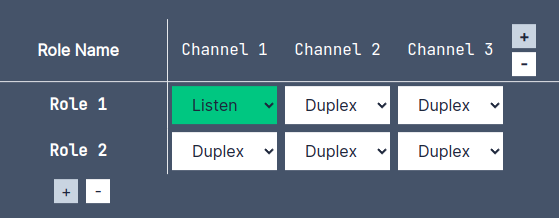
We can change this to Listen Only by selecting the option Listen Only at the intersection of Role 1 and Channel 1. This means that Role 1 can only listen to Channel 1, but not talk into it.

Talk Only Channels
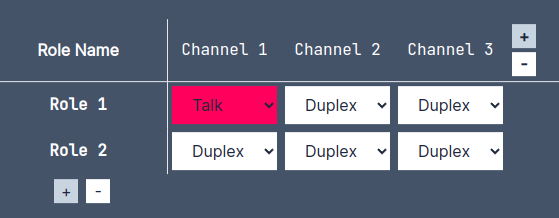
We can also change this to Talk Only by selecting the option Talk Only at the intersection of Role 1 and Channel 1. This means that Role 1 can only talk into Channel 1, but not listen to it.

Private Channels
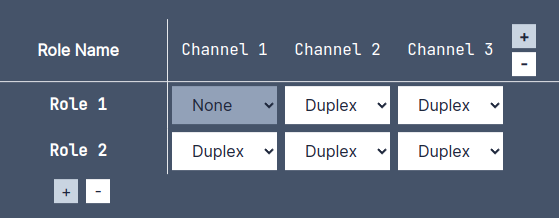
We can also change this to 'None' by selecting the option None at the intersection of Role 1 and Channel 1. This means that Role 1 can not talk into or listen to Channel 1. The channel will not appear on their Web Comms panel.
